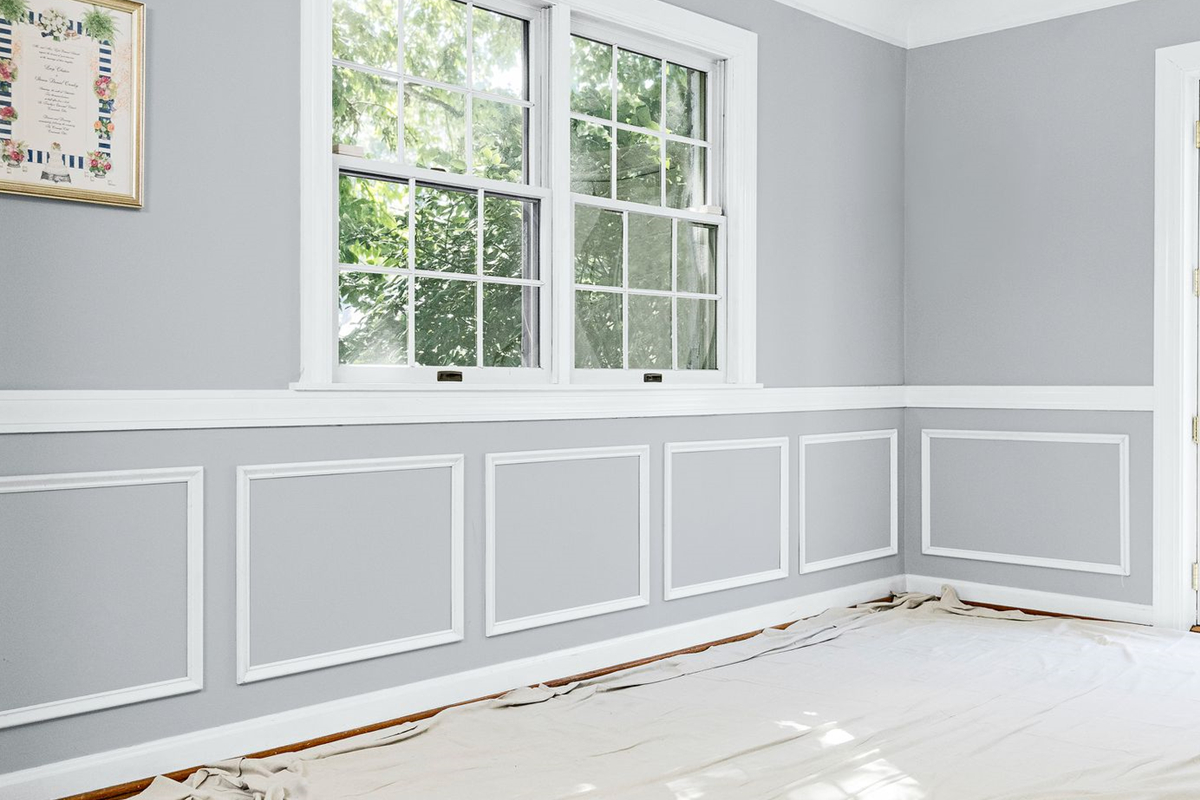
A Wainscot is a decorative molding typically found in an interior design to dress up a room. Think of it as a wall treatment but with a more specific function. You probably noticed it looks like a crown if you’ve ever seen a wainscot in an interior design. A wainscot is like a crown but with a wainscotted wall.
A Wainscot is also known as a crown molding, casing, or capping. It has a decorative role and is typically used to dress up a room.
The best way to know how to make a Wainscot is by learning the basics of carpentry. You can make a Wainscot yourself and add that extra flair to your home. Wainscotting is also a great way to save money and decorate your home minimalistic. It’s not only a practical way to save money, but it’s also an aesthetically pleasing way to add personality and style to your home.
It would be best if you made a Wainscot is a wood, a saw, and a drill. You’ll also need to purchase your wood from the hardware store.
What do you need to make a Wainscot?
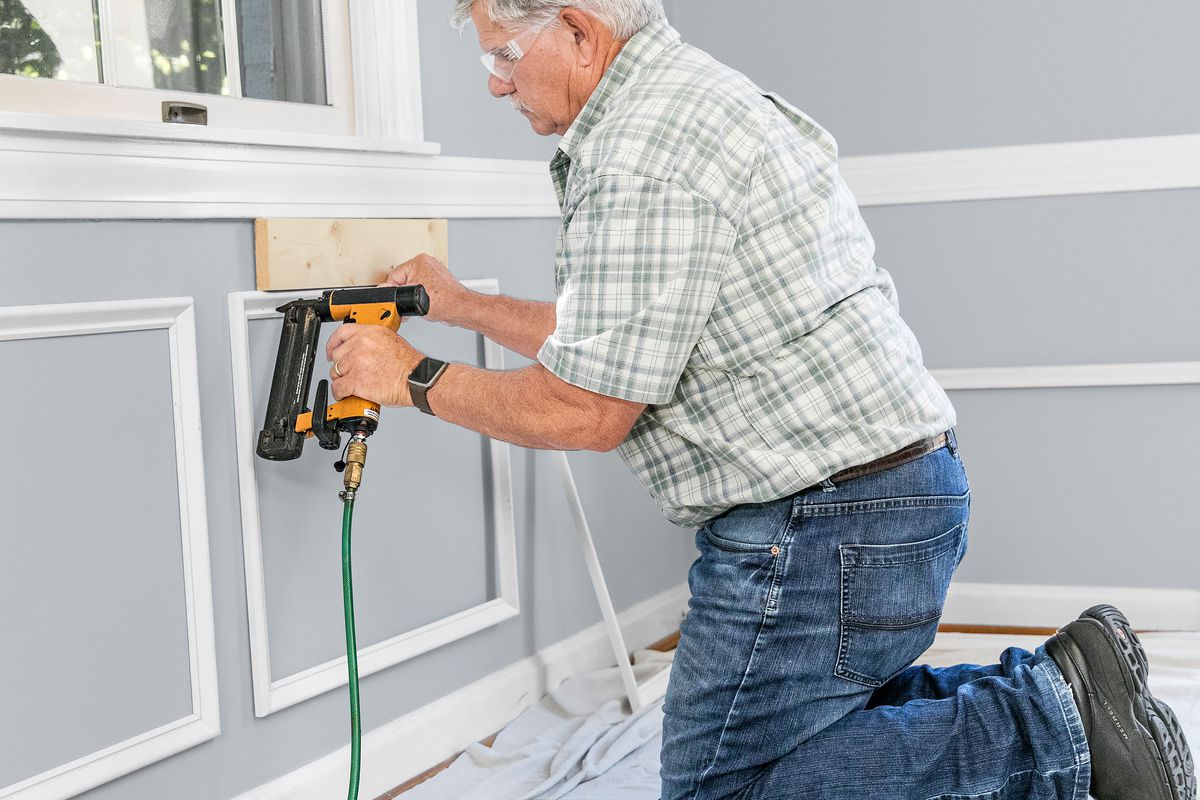
1. Carpentry Basics: You can learn how to make a Wainscot by learning basic carpentry skills like a saw, drill, and hammer. Also, learn how to layout your planks and the basics of carpentry, like squareness and measuring for accuracy. If you’re interested in learning these techniques, check out this picture tutorial.
2. Purchase your Wood: The best way to make a Wainscot is by learning the basics of carpentry, including using a saw, drill, and hammer. See below for exactly what type of wood is used for different kinds of carpentry projects and where you can buy it at home improvement stores such as Home Depot or Lowe’s.
3. Set up Your Work Station: You’ll want your work station set up before starting any project with tools in it because when you’re working on something like this that requires precision, workers take extreme care not to harm their hands or wrists on anything worse than normal object handling (like a screwdriver or hammer).