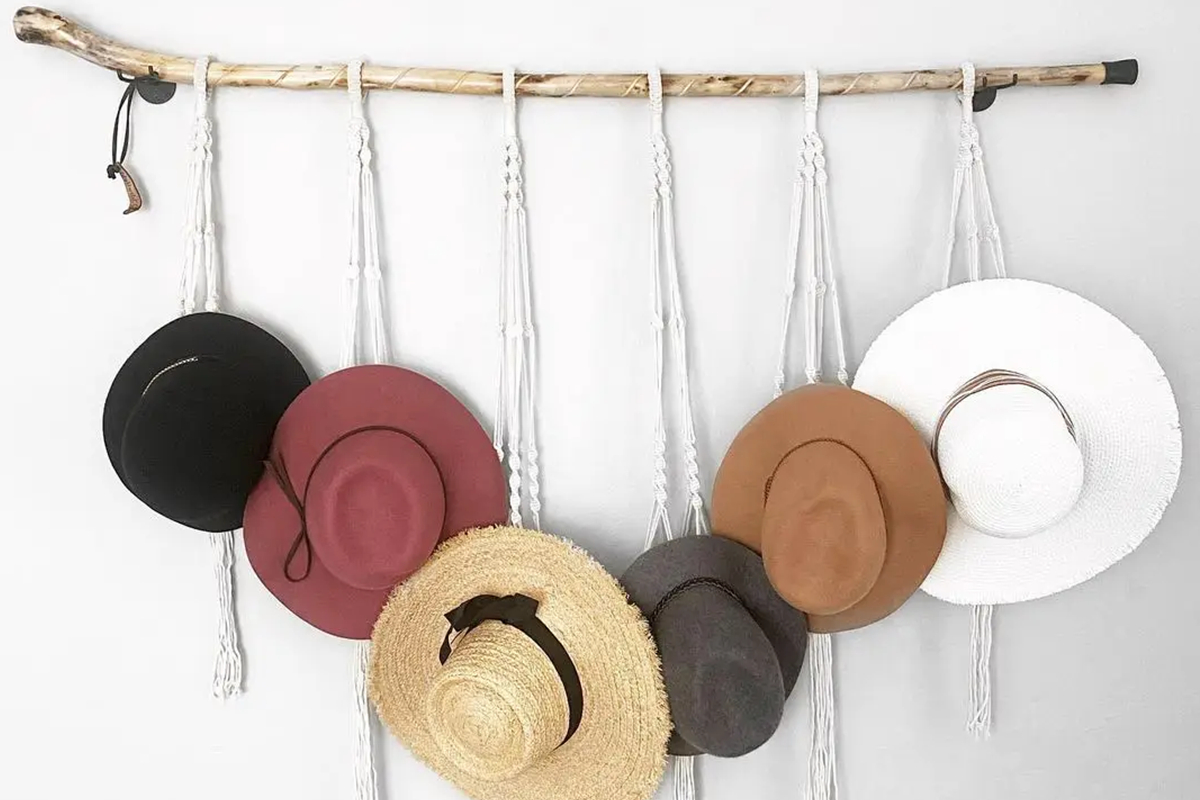
How To Build Your DIY Hat Stand: Perfect For The Entire Family.
This DIY hat stand will give you the help you need to keep those hats and gloves organized. You can easily keep your hats and gloves organized with a simple DIY hat stand. The best part about this is that you can make one for only a few dollars. It won’t take you long to get it done, and the instructions are simple enough that even your littlest DIYer will be able to follow them. This will be the perfect project for a little one to do at their next birthday party.
When building your DIY hat stand, you will find the instructions very easy to follow. This is because they are written so that even the most petite person will be able to understand them. You will have no problem following along as your little one learns how to build their DIY hat stand. The steps are simple enough that your child can easily follow along without any problems. This is another excellent project for your child to do during their next birthday party or even as an Easter gift for a friend.

What You Will Need To Build Your DIY Hat Stand:
4 – 2×4 boards, each about 3 inches wide
2 – 1×4 boards, each about 12 inches long
6 – 1×2 boards, each about 8 inches long and 3 inches wide
Screws and nails in a variety of sizes (optional)
In conclusion, this is a great DIY project to complete with your child. They will love taking on the challenge of building their hat stand for their very own hat at home. Your child will love that they can build something that can last for years without any need for maintenance or repairs. By purchasing the necessary materials from a local hardware store, you will be able to save both time and money by taking care of this project yourself.
Once you have completed this project, you may even want to start making other DIY projects with your child – such as assembling an outdoor picnic table, a backyard swing set, or an outdoor fire pit. Any one of these projects will be a fun activity for your child on their next birthday party or summer day at home.