Making a Ruffle Collar is very easy when you follow the instructions and have a little time. It’s a great way to dress up any shirt, skirt or dress and make it something new.
There are two different types of ruffle collars. One is a “ruffle ruffle” collar that is typically shorter and wider with more of the fabric turned into ruffles. The other type is called a “ruffle banded” collar and this one starts with fabric folded in half lengthwise and then sewn on top of itself to form two layers, both folded in the same direction so that they will lie flat against each other.
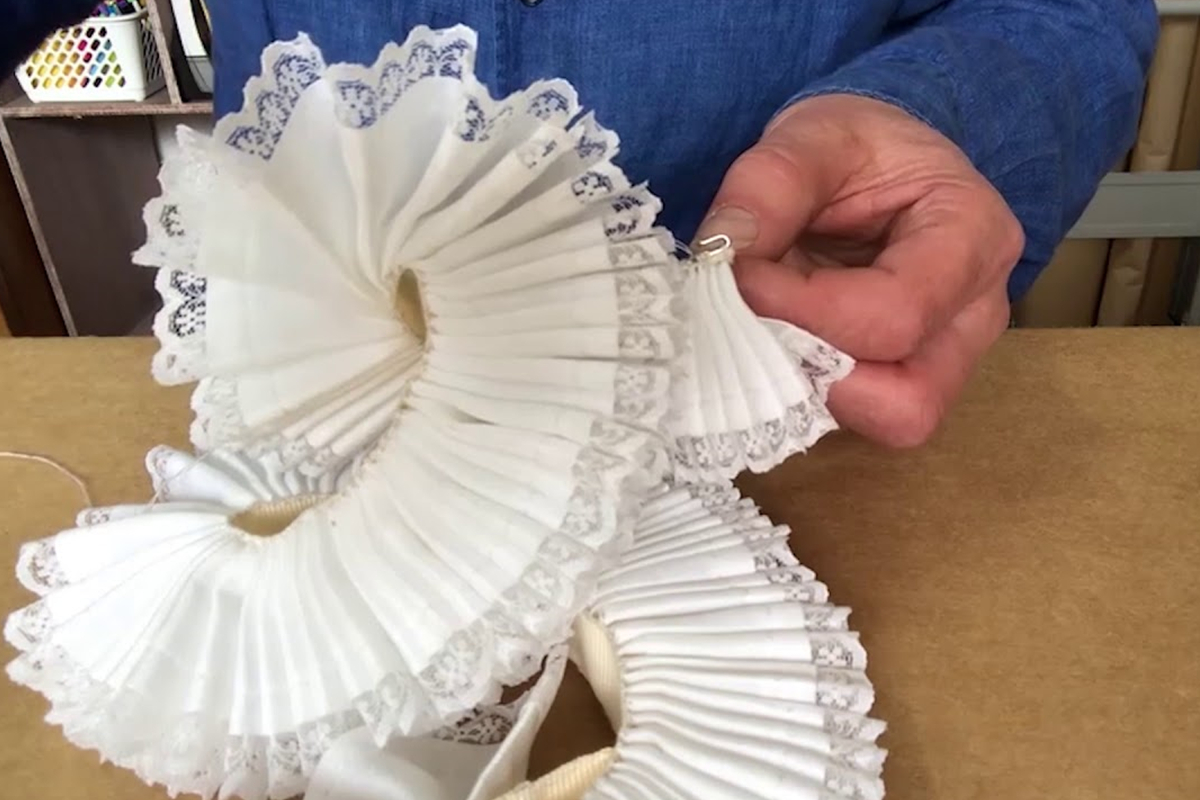
TIPS TO MAKE A RUFFLE COLLAR
1. Use a template. Make sure you have a pencil mark on the collar of where the ruffles will go and don’t forget to add the seam allowance.
2. The first thing to do is rip your fabric into strips that are about 1/4″ wide. Using your own measurements for length and width, take one layer of fabric and fold it in half (Right Side Inside) and press down with a pressing cloth or iron on the wrong side of your fabric.
3. Take the other piece of fabric and fold it in half (Right Side Inside) and press down with a pressing cloth or iron on the wrong side of your fabric.
4. Fold the rectangle in half by matching up the two raw edges and pressing with a pressing cloth or iron on the wrong side of your fabric.
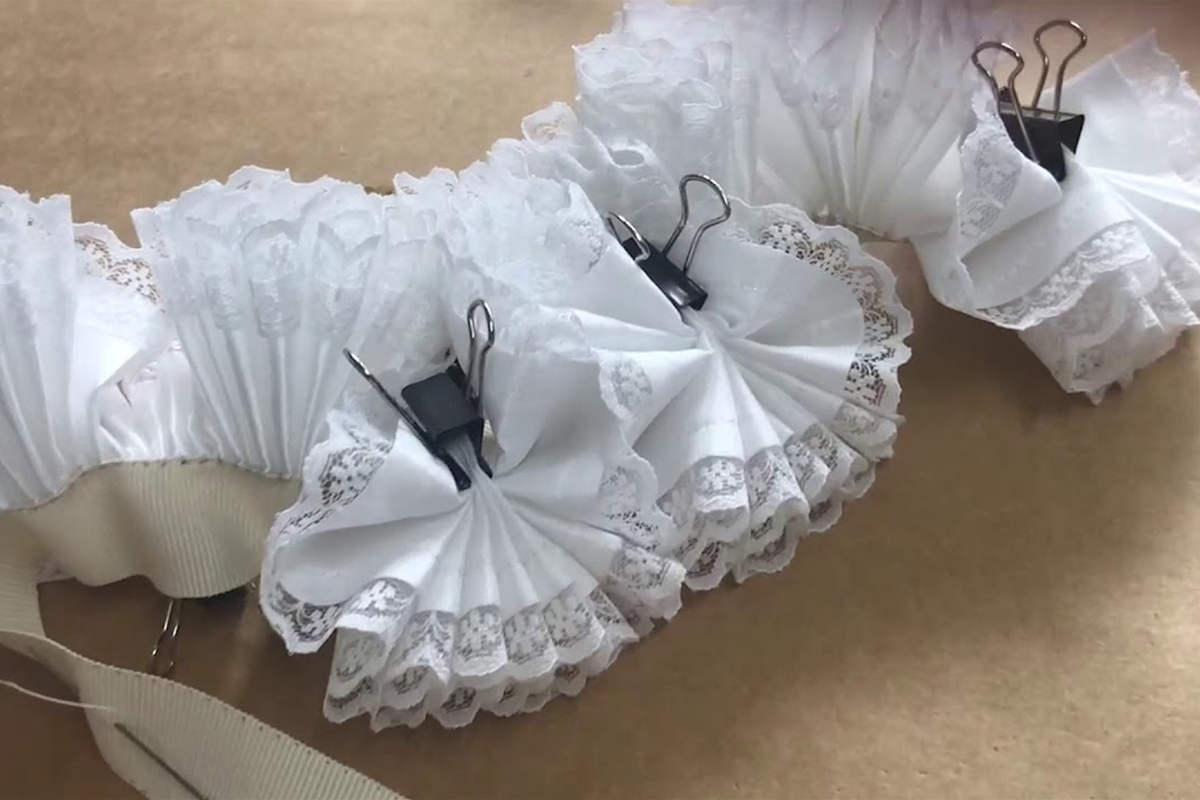
5. Place one piece of ruffled strip over the folded strip, aligning raw edges, pin and sew down lengthwise (on the fold) making sure that you are sewing through both layers of ruffle strips. Be sure to press down with a pressing cloth or iron on both layers. The back should be the same color as that of your shirt material as opposed to off-white or white, so make sure you pin through both layers when sewing around the curve.
6. Attach ruffle strips to the other piece of neck band, aligning raw edges, pin and sew down lengthwise (on the fold) making sure that you are sewing through both layers of ruffle strips. Be sure to press down with a pressing cloth or iron on both layers. The back should be the same color as that of your shirt material as opposed to off-white or white, so make sure you pin through both layers when sewing around the curve.